Superbattleduck (talk | contribs) mNo edit summary |
Infinite duck (talk | contribs) m (Added locked terminal feature and changed headings of the page for consistency.) |
||
| (28 intermediate revisions by 11 users not shown) | |||
| Line 1: | Line 1: | ||
| + | The Terminal can be found in various Zones in the Complex. It is used to '''locate items and objectives.''' The most important commands are '''LIST''', '''QUERY''', and '''PING.''' Another useful command is '''CLS''' (It will delete the Terminal's existing text). |
||
| − | The terminal is a computer capable of locating things (resources, mission objectives, ect.) there are a few commands on the terminal (exit, cls, ping, query, list.) the most important commands are query, ping and list. |
||
| − | = |
+ | == Basics == |
| + | The Terminal's main usage is to '''locate items and objectives.''' |
||
| − | The sole purpose of the terminal is to locate items such as medkits, tool refills and mission objectives (HSU, [[Search for Personnel IDs|PID]].) To locate an item you need the item id which you can get by typing list (list medi, ect.) When it<nowiki>'s done you get all of the id's of the items (example. medipack_123.) after this you use the command ''query'' to locate which zone it's in (example. query medipack_123.) once this is done you get the zone that the item you are looking for is in, if it is in the same zone as you, you can use the command ''ping''</nowiki> (example. ping medipack_123.) This can be used on pretty much everything in the game from boxes, resources, doors and other terminals. |
||
| − | Almost every item including doors, boxes, cabinets and terminal, has their id printed somewhere on them. |
||
| + | There are 3 basic commands: |
||
| − | = How to find Resource Packs = |
||
| + | * '''List''' |
||
| − | To find resources in a specific zone use the following command depending on which one you want: |
||
| + | * '''Query''' |
||
| + | * '''Ping''' |
||
| ⚫ | |||
| ⚫ | |||
| ⚫ | |||
| + | Generally, you should use the commands in this order: |
||
| − | Doing this correctly will list how many of each resource type is in the zone and will show up for example as AMMOPACK_304, MEDIPACK_249, or TOOL_REFILL_496 depending on what you searched for. Each zone may contain none or as many as 3-4 of a specific resource. |
||
| + | # ''--Optional--'' Use '''List''' to find out which items randomly spawned in a Zone. |
||
| − | = Querying = |
||
| + | # When you find the name of an item you want more information on, use '''Query''' on that item. |
||
| − | You may QUERY a specific item or objective to determine the area it is kept in or in the case of a resource pack; how many uses it has to determine if it's worth the risk to venture into specific areas for supplies. |
||
| + | # Once you have the Zone '''and''' the name of an item, navigate to that Zone's terminal. |
||
| + | # '''PING''' the name of the item from the Zone's Terminal. |
||
| + | ## Use the information from the successful PING to instruct your teammates on which subZone they must go to (Zone 17 - '''Area B''', for example). |
||
| + | ## Continue issuing PING commands until your team has found the item. |
||
| ⚫ | |||
| + | When using any of the commands, follow the command with a space and the name of the Zone/ Item. Zone names can be found on the map, written on doors, or on billboards inside rooms. |
||
| ⚫ | |||
| − | = Pinging an Objective/Item = |
||
| − | Pinging command allows players to quickly find items within the same zone the player is currently located in. They can be narrowed down to their EXACT location with the Zone and Area Letter, on top of that they will give an audible pinging sound to all team mates and the closer you are to the item, the louder the ping becomes enabling players to pinpoint their location in the room it is held in. |
||
| + | Examples of '''List, Query''', and '''Ping:''' |
||
| − | The command to ping an objective item requires the player to be in the same ZONE where the item is held or else the pinging will not work: PING HSU_XXX (EX:''PING HSU_123'') or PING RESOURCE_XXX (EX: ''PING AMMOPACK_304'') |
||
| + | {| |
||
| + | |- |
||
| + | |'''•''' List Zone_17 |
||
| + | | |
||
| + | | style="text-align:left;" |(This will show that Zone_17 contains MediPack_123) |
||
| + | |- |
||
| + | |'''•''' Query MediPack_123 |
||
| + | | |
||
| + | | style="text-align:left;" |(This will show MediPack_123's location is Zone_17) |
||
| + | |- |
||
| + | |'''•''' Ping MediPack_123 |
||
| + | | |
||
| + | | style="text-align:left;" |(This will show MediPack_123's location is Zone_17 - Area B. It will also make the MediPack emit an audible sound for your teammates in Zone_17 to hear so that they can find it) |
||
| + | |} |
||
| + | == LIST == |
||
| + | The LIST command is used when '''you want to find which items have spawned''' in the Complex. |
||
| − | When done correctly it will show up as something like: ''AMMOPACK_304 - LOCATION: ZONE 30 - AREA B''. This information gives the exact location where something is location, saving a lot of time than searching randomly. |
||
| + | |||
| + | |||
| + | A LIST command can look like any of the following: |
||
| + | |||
| + | * '''LIST ZONE''' (recommended for beginners) |
||
| + | * '''LIST ITEM_TYPE''' |
||
| + | * '''LIST ITEM_TYPE ZONE''' |
||
| + | |||
| + | |||
| + | If '''ONLY''' a Zone is entered: |
||
| + | |||
| + | * The Terminal will show the names of '''ALL''' Items in the Zone. |
||
| + | |||
| + | If '''ONLY''' an Item_Type is entered: |
||
| + | |||
| + | * The Terminal will show the names of every item that matches the Item_Type in '''ALL''' Zones |
||
| + | |||
| + | If '''BOTH''' an Item_Type '''and''' a Zone are entered: |
||
| + | |||
| + | * The Terminal will show the names of every item that matches the Item_Type '''and''' is in the given Zone. |
||
| + | |||
| + | |||
| + | The most important things to look for when using a LIST command are [[consumables|Resource Packs]]. Resource Packs can be any one of the following: |
||
| + | {| |
||
| + | ! |
||
| + | |- |
||
| + | | • '''AMMO''' (AmmoPack) |
||
| + | | ► |
||
| ⚫ | |||
| + | |- |
||
| + | | • '''MEDIPACK''' (MediPack) |
||
| + | | ► |
||
| ⚫ | |||
| + | |- |
||
| + | | • '''TOOL REFILL KIT''' (Tool_Refill) |
||
| + | | ► |
||
| ⚫ | |||
| + | |} |
||
| + | |||
| + | |||
| + | To find '''ANY''' type of Resource Pack in a Zone use the following command: '''''LIST RESOURCE ZONE''''' (EX: LIST RESOURCE ZONE_83). |
||
| + | |||
| + | * This will list any available ammo, medical and tool packs and is a great command to use since it's a time saver and lists everything in one go, instead of inputting three separate commands. |
||
| + | |||
| + | |||
| + | ''Note: You can not LIST a subZone.'' ''You must use LIST Zone_17, and can not LIST Zone_17b.'' |
||
| + | |||
| + | == QUERY == |
||
| + | The QUERY command is used when you want to know something about an item '''that you already have the name of.''' |
||
| + | |||
| + | This command is used on: |
||
| + | |||
| + | * '''Resources''' (''MEDIPACK, AMMOPACK'', ''TOOL_REFILL, DISINFECTION_PACK'') |
||
| + | * '''Objective Items''' (KEY, CELL, FOG_TURBINE, NEONATE_HSU, ID, PDEC) |
||
| + | * '''Doors''' (''DOOR'', ''SEC_DOOR'') |
||
| + | * '''Storage''' (LOCKER, BOX) |
||
| + | * '''Other Structures''' (HSU, nFRAME, DPR, NCR, DISINFECTION_STATION, GENERATOR) |
||
| + | |||
| + | |||
| + | |||
| + | The terminal will show the: |
||
| + | |||
| + | # Location |
||
| + | # Ping Status |
||
| + | # ''-- Optional (Resource Pack)-- Uses Remaining'' |
||
| + | # ''-- Optional (Door)-- Where the door leads, both forwards and backwards'' |
||
| + | # ''-- Optional (Door)-- Required KEY'' |
||
| + | #''-- Optional (Objective)-- Objective Information'' |
||
| + | |||
| + | |||
| ⚫ | |||
| + | |||
| ⚫ | |||
| + | |||
| + | |||
| + | ''Tips:'' |
||
| + | |||
| + | Querying a MEDIPACK that is in an unexplored zone can help a team decide if going into the zone is worth it. A MEDIPACK with only one charge (''20%'') might not be worth the risk! |
||
| + | |||
| + | Querying an objective like a KEY or an HSU can help the team find where they're supposed to be going! |
||
| + | |||
| + | It is possible to traverse the entire compound from your very first Terminal! This can be done by doing the following: 1) QUERY a door. 2) LIST the Zone that it leads to. 3) QUERY one of the doors that is in the LIST of the Zone. 4) Repeat. |
||
| + | |||
| + | == PING == |
||
| + | The PING command is used to '''pinpoint the specific location of an item that you are''' '''in the same Zone as.''' You must know the name (ID) of the item, so you usually must have previously done a LIST command. |
||
| + | |||
| + | |||
| + | A successful PING command results in two things: |
||
| + | |||
| + | # Terminal displays Item's '''subZone''' location. |
||
| + | |||
| + | # Item will '''emit a loud, audible sound''' for nearby players to hear. |
||
| + | |||
| + | |||
| + | Example of a PING command: '''''PING MEDIPACK_911''''' |
||
| + | PING SUCCESS. MEDIPACK_911 found in Zone_49 Area_B |
||
| + | ''Note: The PING's audible sound is directional and the closer you are to an item the louder the ping will be. This is useful for pinpointing the exact location of an item so that it may be retrieved.'' |
||
| + | |||
| + | |||
| + | The PING command requires the player to be in the '''same Zone''' where the item is held. Otherwise '''the PING command will not work.''' |
||
| + | |||
| + | == REACTOR == |
||
| + | The REACTOR commands are made up of three different commands: [[Reactor Defense|REACTOR_STARTUP]], REACTOR_VERIFY and [[Reactor Shutdown|REACTOR_SHUTDOWN]]. |
||
| + | |||
| + | REACTOR commands are only used within certain expeditions when there is a reactor present, when being used they will trigger an alarm like event where enemies will spawn, within a REACTOR_STARTUP you will need to repeatedly input REACTOR_VERIFY followed by a 4 letter code, there are also no security scans after the first team scan. When doing a REACTOR_SHUTDOWN you will need to put in a single REACTOR_VERIFY to start the sequence, there will then be a security scan sequence similar to an alarm door, however completing these scans does not stop the enemies spawning. |
||
| + | |||
| + | == UPLINK == |
||
| + | There are 2 UPLINK commands, UPLINK_CONNECT and UPLINK_VERIFY. These commands are only used for certain expeditions and is the main objective. To start an uplink you will need to input UPLINK_CONNECT followed by the code shown onscreen in the format “__.__.__.__”. After starting the uplink, you will need to do a UPLINK_VERIFY commands to finish it, for an UPLINK_VERIFY there will be a code shown on the terminal, for example X04, this will correspond to a 4-letter long password shown on screen. After finding out which code Is correct you will have to input UPLINK_VERIFY followed by the code. |
||
| + | <br /> |
||
| + | |||
| + | == LOGS == |
||
| + | There are 2 commands: LOGS, which is used to find logs within terminals, and READ, which is used to open and read logs within terminals. |
||
| + | |||
| + | Some expeditions require logs in order to progress the objective. Logs also are used for lore purposes, granting small amounts of information about the complex. |
||
| + | |||
| + | More information on [[logs]] as well as currently known and transcribed logs can be found [[Logs|here]]. |
||
| + | |||
| + | == Locked Terminals == |
||
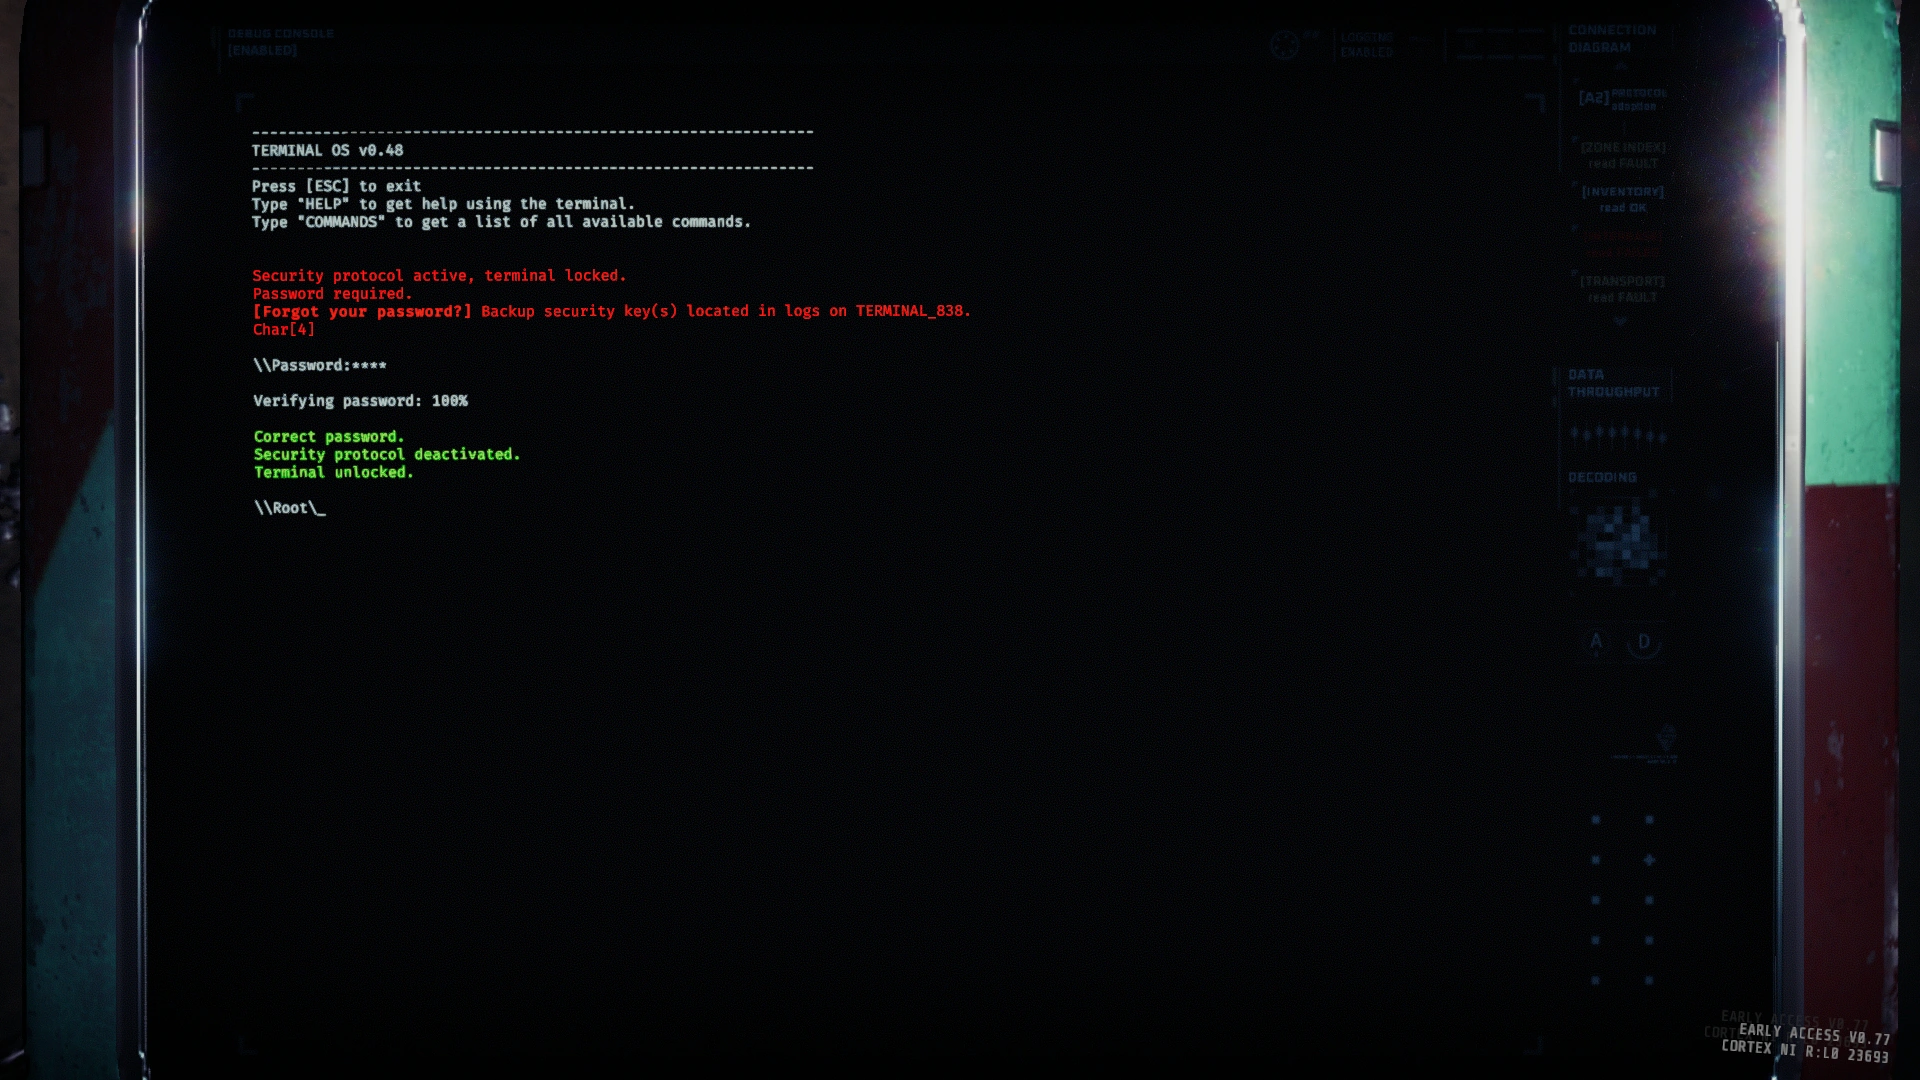
| + | Terminals can be locked due to active security protocols, requiring a password to access all normal functions of the terminal. |
||
| + | |||
| + | The password can be found in a log of another terminal, potentially also multiple logs on multiple terminals. |
||
| + | |||
| + | ==Gallery== |
||
| + | <gallery mode="packed" heights="250px"> |
||
| + | Terminal Cinematic.jpg|A terminal in the complex |
||
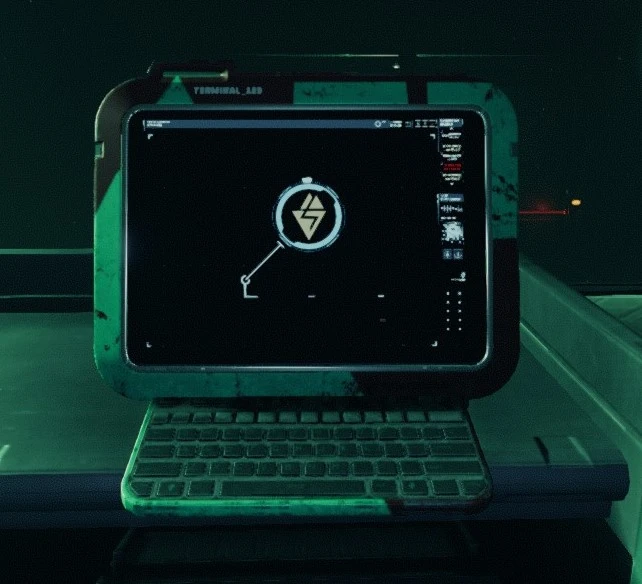
| + | LaptopTerminal.jpg|A laptop variant of the terminal |
||
| + | UnlockedTerminal.png|An unlocked terminal |
||
| + | </gallery> |
||
| + | |||
| + | |||
| + | [[Category:Structures]] |
||
Revision as of 14:35, 16 July 2021
The Terminal can be found in various Zones in the Complex. It is used to locate items and objectives. The most important commands are LIST, QUERY, and PING. Another useful command is CLS (It will delete the Terminal's existing text).
Basics
The Terminal's main usage is to locate items and objectives.
There are 3 basic commands:
- List
- Query
- Ping
Generally, you should use the commands in this order:
- --Optional-- Use List to find out which items randomly spawned in a Zone.
- When you find the name of an item you want more information on, use Query on that item.
- Once you have the Zone and the name of an item, navigate to that Zone's terminal.
- PING the name of the item from the Zone's Terminal.
- Use the information from the successful PING to instruct your teammates on which subZone they must go to (Zone 17 - Area B, for example).
- Continue issuing PING commands until your team has found the item.
When using any of the commands, follow the command with a space and the name of the Zone/ Item. Zone names can be found on the map, written on doors, or on billboards inside rooms.
Examples of List, Query, and Ping:
| • List Zone_17 | (This will show that Zone_17 contains MediPack_123) | |
| • Query MediPack_123 | (This will show MediPack_123's location is Zone_17) | |
| • Ping MediPack_123 | (This will show MediPack_123's location is Zone_17 - Area B. It will also make the MediPack emit an audible sound for your teammates in Zone_17 to hear so that they can find it) |
LIST
The LIST command is used when you want to find which items have spawned in the Complex.
A LIST command can look like any of the following:
- LIST ZONE (recommended for beginners)
- LIST ITEM_TYPE
- LIST ITEM_TYPE ZONE
If ONLY a Zone is entered:
- The Terminal will show the names of ALL Items in the Zone.
If ONLY an Item_Type is entered:
- The Terminal will show the names of every item that matches the Item_Type in ALL Zones
If BOTH an Item_Type and a Zone are entered:
- The Terminal will show the names of every item that matches the Item_Type and is in the given Zone.
The most important things to look for when using a LIST command are Resource Packs. Resource Packs can be any one of the following:
| • AMMO (AmmoPack) | ► | LIST AMMO ZONE_NUMBER (EX: LIST AMMO ZONE_30) |
| • MEDIPACK (MediPack) | ► | LIST MEDI ZONE_NUMBER (EX: LIST MEDI ZONE_46) |
| • TOOL REFILL KIT (Tool_Refill) | ► | LIST TOOL ZONE_NUMBER (EX: LIST TOOL ZONE_97) |
To find ANY type of Resource Pack in a Zone use the following command: LIST RESOURCE ZONE (EX: LIST RESOURCE ZONE_83).
- This will list any available ammo, medical and tool packs and is a great command to use since it's a time saver and lists everything in one go, instead of inputting three separate commands.
Note: You can not LIST a subZone. You must use LIST Zone_17, and can not LIST Zone_17b.
QUERY
The QUERY command is used when you want to know something about an item that you already have the name of.
This command is used on:
- Resources (MEDIPACK, AMMOPACK, TOOL_REFILL, DISINFECTION_PACK)
- Objective Items (KEY, CELL, FOG_TURBINE, NEONATE_HSU, ID, PDEC)
- Doors (DOOR, SEC_DOOR)
- Storage (LOCKER, BOX)
- Other Structures (HSU, nFRAME, DPR, NCR, DISINFECTION_STATION, GENERATOR)
The terminal will show the:
- Location
- Ping Status
- -- Optional (Resource Pack)-- Uses Remaining
- -- Optional (Door)-- Where the door leads, both forwards and backwards
- -- Optional (Door)-- Required KEY
- -- Optional (Objective)-- Objective Information
To query an objective like an HSU would be: QUERY HSU_XXX (EX: HSU_123). Doing this correctly will pinpoint the Zone the HSU (Hydro-Stasis Unit) is located in.
The command to query an ammo pack would be: QUERY AMMOPACK_304. When done correctly the query will display the item's zone and how many uses it has remaining. It will show up as: AMMUNITION PACK - CAPACITY: 80%, indicating the ammo pack has 4 uses.
Tips:
Querying a MEDIPACK that is in an unexplored zone can help a team decide if going into the zone is worth it. A MEDIPACK with only one charge (20%) might not be worth the risk!
Querying an objective like a KEY or an HSU can help the team find where they're supposed to be going!
It is possible to traverse the entire compound from your very first Terminal! This can be done by doing the following: 1) QUERY a door. 2) LIST the Zone that it leads to. 3) QUERY one of the doors that is in the LIST of the Zone. 4) Repeat.
PING
The PING command is used to pinpoint the specific location of an item that you are in the same Zone as. You must know the name (ID) of the item, so you usually must have previously done a LIST command.
A successful PING command results in two things:
- Terminal displays Item's subZone location.
- Item will emit a loud, audible sound for nearby players to hear.
Example of a PING command: PING MEDIPACK_911
PING SUCCESS. MEDIPACK_911 found in Zone_49 Area_B
Note: The PING's audible sound is directional and the closer you are to an item the louder the ping will be. This is useful for pinpointing the exact location of an item so that it may be retrieved.
The PING command requires the player to be in the same Zone where the item is held. Otherwise the PING command will not work.
REACTOR
The REACTOR commands are made up of three different commands: REACTOR_STARTUP, REACTOR_VERIFY and REACTOR_SHUTDOWN.
REACTOR commands are only used within certain expeditions when there is a reactor present, when being used they will trigger an alarm like event where enemies will spawn, within a REACTOR_STARTUP you will need to repeatedly input REACTOR_VERIFY followed by a 4 letter code, there are also no security scans after the first team scan. When doing a REACTOR_SHUTDOWN you will need to put in a single REACTOR_VERIFY to start the sequence, there will then be a security scan sequence similar to an alarm door, however completing these scans does not stop the enemies spawning.
UPLINK
There are 2 UPLINK commands, UPLINK_CONNECT and UPLINK_VERIFY. These commands are only used for certain expeditions and is the main objective. To start an uplink you will need to input UPLINK_CONNECT followed by the code shown onscreen in the format “__.__.__.__”. After starting the uplink, you will need to do a UPLINK_VERIFY commands to finish it, for an UPLINK_VERIFY there will be a code shown on the terminal, for example X04, this will correspond to a 4-letter long password shown on screen. After finding out which code Is correct you will have to input UPLINK_VERIFY followed by the code.
LOGS
There are 2 commands: LOGS, which is used to find logs within terminals, and READ, which is used to open and read logs within terminals.
Some expeditions require logs in order to progress the objective. Logs also are used for lore purposes, granting small amounts of information about the complex.
More information on logs as well as currently known and transcribed logs can be found here.
Locked Terminals
Terminals can be locked due to active security protocols, requiring a password to access all normal functions of the terminal.
The password can be found in a log of another terminal, potentially also multiple logs on multiple terminals.
Gallery
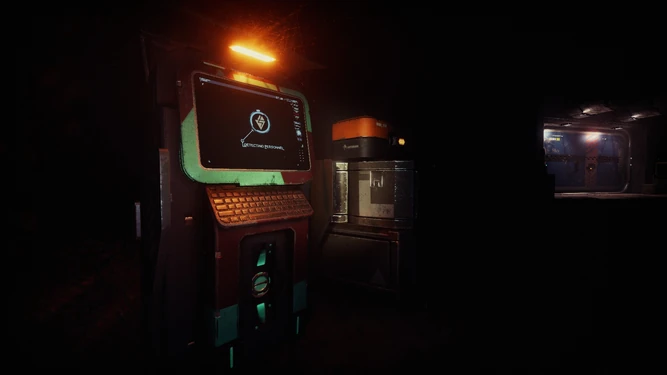
A terminal in the complex

A laptop variant of the terminal

An unlocked terminal